Spanish cut steaks are very affordable. They are thin sliced sirloin tip steaks. The problem is that these must be browned and braised properly or they can get tough.
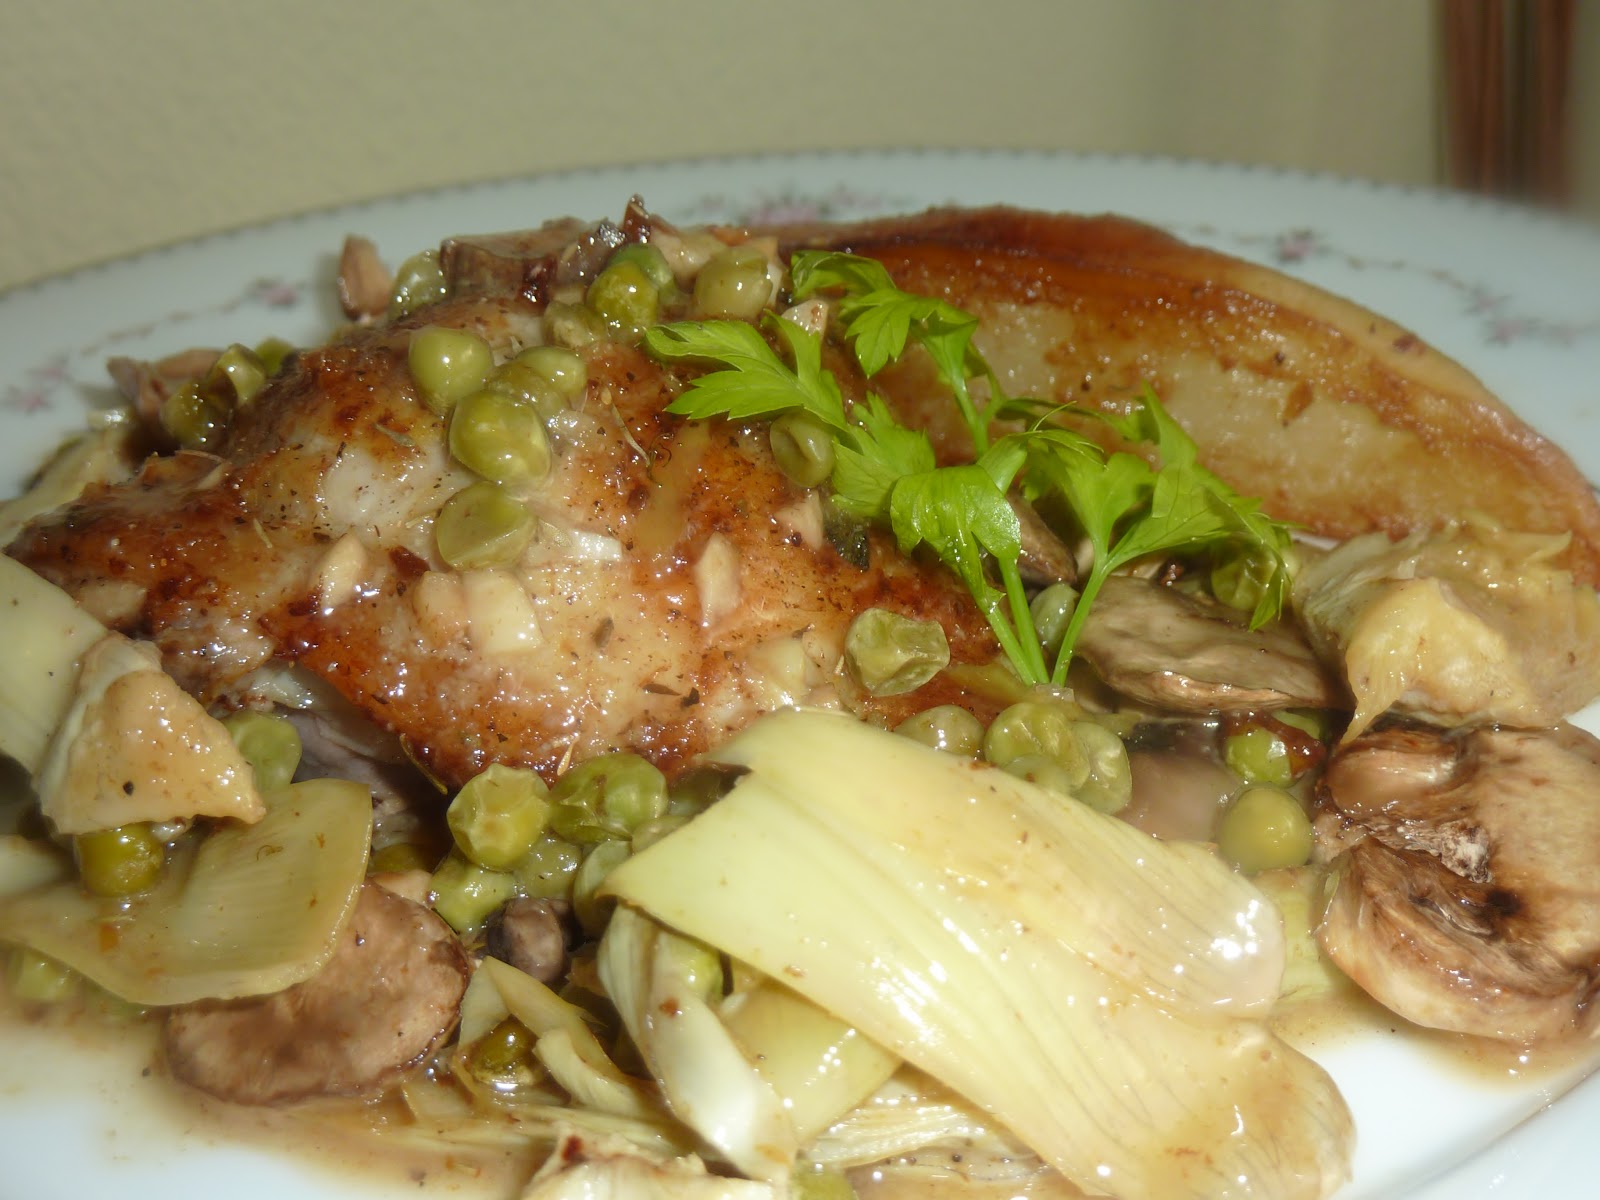
I like this recipe because it's full of flavor. You might look at the picture and say, "Mary Kay, where's the beef?" There are tons of vegetables served with this steak, and that is why it is called "smothered steak." There is a little cheese under there, too, which is a nice surprise when you dig in. I added the peas and corn for color, but you can serve this with any side dish you like. You might serve this over rice or mashed potatoes.
I wrote this recipe for two. You can double or triple it with no problem. Each serving is two slices of steak and half of the veggies.
There is alcohol used this recipe. You can substitute non-alcoholic wine. If you are going to use broth to make this "family-friendly," use low sodium broth and add one tablespoon of white wine vinegar to the broth. You do need a little more acidity than what the tomatoes provide to tenderize the meat. You can also use extra tenderizing Worcestershire sauce. If you don't have white wine vinegar on hand, regular white vinegar works too. I don't want you to go out and buy ingredients if you don't have them on hand. You can play around with this dish and find what works for you.
I know this recipe calls for a lot of ingredients but it's worth it! The elephant garlic is sweeter and milder. If you cannot find it, you can substitute regular garlic.
Ingredients:
2 tablespoons
olive oil, divided (one tablespoon extra if needed)
1/3 pound
Spanish cut Sirloin Tip steaks, cut into four slices and pounded to 1/4 inch thick
Freshly ground
pepper, to taste
1
anchovy fillet
1 tablespoon slivered
elephant garlic
1/2 cup sliced green
bell pepper
1/4 cup sliced
Italian frying pepper, cut into rings
1 cup sliced
white mushrooms
8 - 10 sliced sweet
onion rings (all sizes)
1 tablespoon
Worcestershire sauce
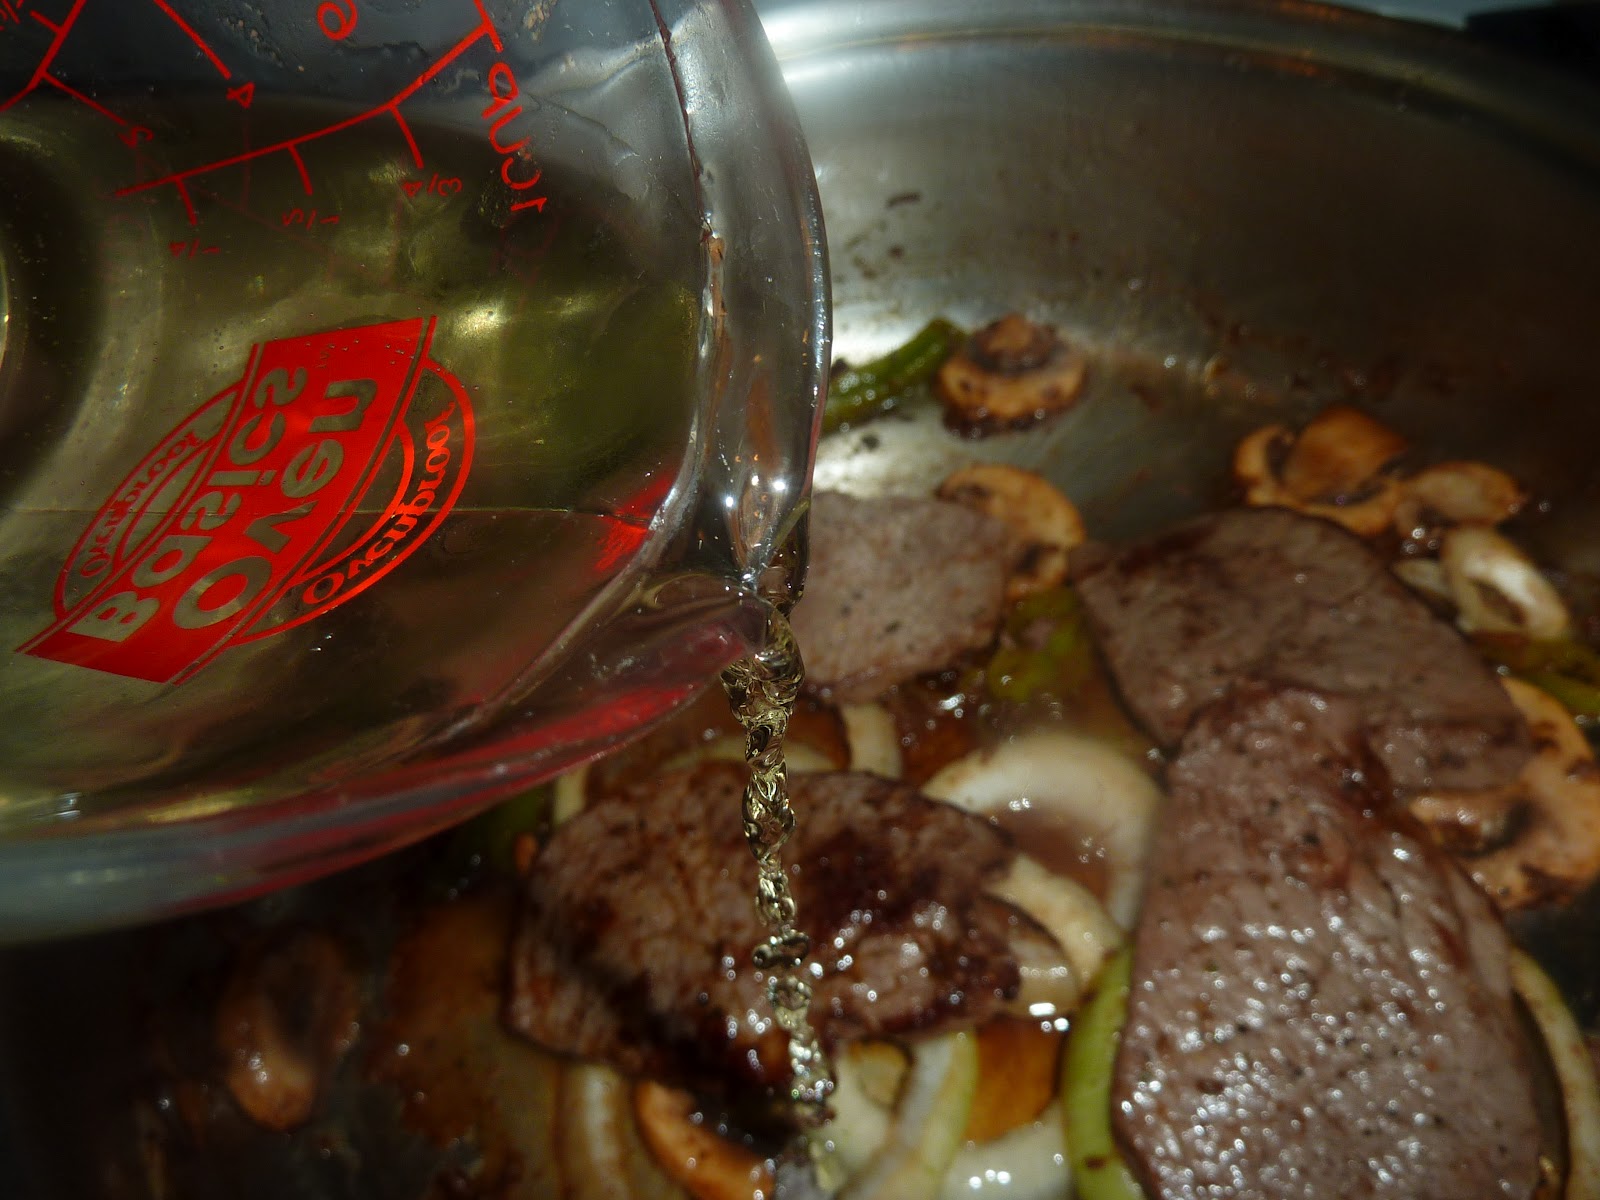
1/2 cup
dry white wine or low sodium vegetable broth (with one tablespoon white wine vinegar added)
1 cup canned
petite diced tomatoes (do not drain)
1 tablespoon lemon juice
Sea salt, to taste
2 tablespoons grated
Monterey Jack cheese
Fresh
oregano or
cilantro for garnish, optional (I like to use both)
Directions:
Add one tablespoon of olive oil to a braising pan. It is important to use a large enough pan for this dish so that you do not crowd the meat.
Season the steaks with fresh pepper. Do not salt at this time. Salt will draw extra moisture from the steaks and you don't want to do that when working with a tougher cut of meat.
Brown the steaks slowly (over a low heat) on both sides. Remove to a plate and keep warm.
Add the remaining tablespoon of olive oil to the pan. Add the anchovy fillet. Once the anchovy dissolves, add the green pepper, the Italian pepper and the mushrooms. You might need to add a little extra oil to the pan as the mushrooms will soak it up. Cook for about three minutes until the peppers soften and the mushrooms begin to brown.
Add the onion rings and cook for about two more minutes until the onion rings soften. Add the Worcestershire sauce, the wine, the tomatoes and the lemon juice. Salt to taste

Stir to mix and add the meat back into the pan. Cover the meat with the sauce to tenderize. Bring to a low boil and reduce to simmer (low heat). Cover and cook for 35-40 minutes until the meat is fork tender.
Top the steaks with equal amounts of the cheese. Cover pan for one minute until the cheese melts.
To plate: Place two steaks on each plate and top with the vegetables and sauce from the pan. Garnish with oregano or cilantro is using.
You can get creative as I did with the plating of any side dishes that you make. If using potatoes or rice, you might wish to plate that first and then mound the meat, veggies and sauce on top.
Enjoy and I'll see you soon!


.jpg)


.jpg)


.jpg)


